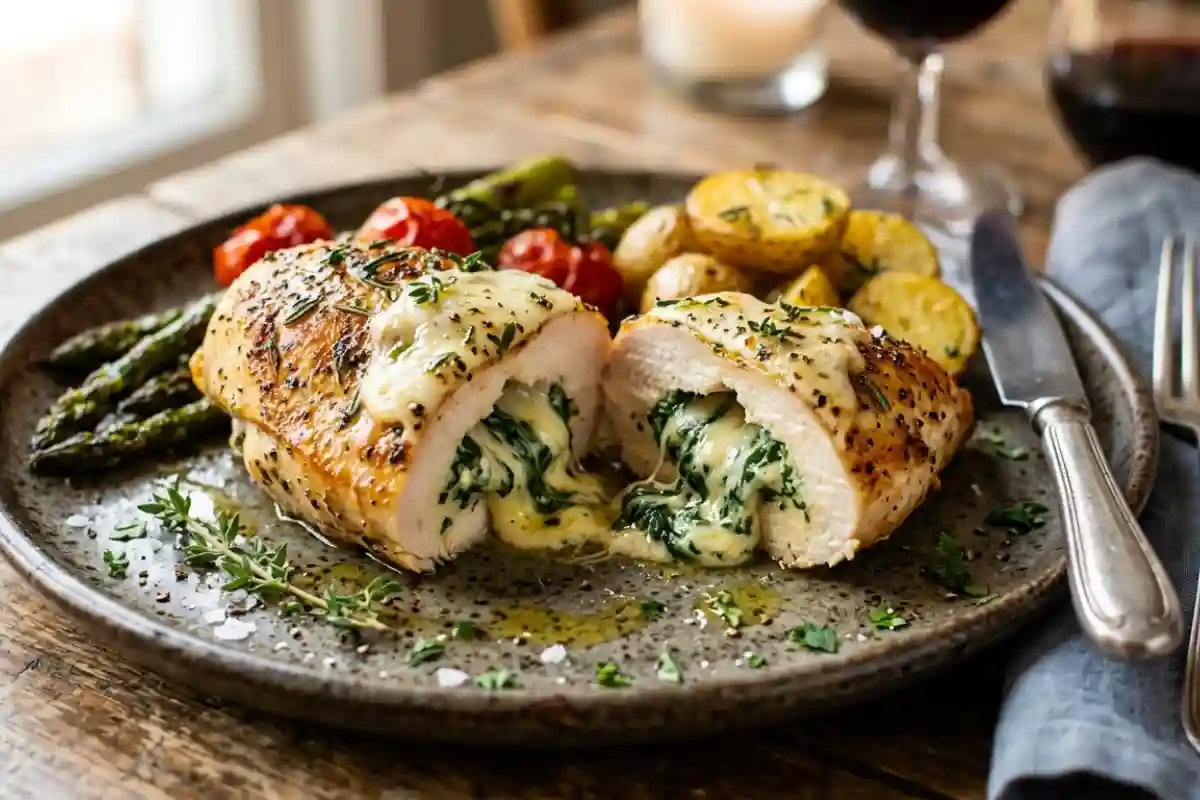
Prepare the Filling: Combine the softened cream cheese, chopped baby spinach, sun-dried tomatoes, shredded mozzarella, and minced garlic in a medium mixing bowl. Stir the mixture with a rubber spatula until all ingredients are evenly distributed and the cream cheese forms a cohesive, spreadable filling. Season the filling with 0.25 teaspoon of the kosher salt and 0.25 teaspoon of the black pepper, then stir once more to incorporate. A uniform filling prevents air pockets inside the pocket, which helps the stuffed chicken breast hold its shape during baking.
Cut the Pocket: Place one chicken breast flat on a cutting board with the thickest long edge facing you. Hold the breast steady with your non-dominant hand and insert a sharp boning or fillet knife into the center of that thick edge. Slice horizontally through the breast toward the opposite side, stopping 1cm / 0.4in from the far edge and from both ends, creating a deep pocket without cutting all the way through. Repeat with the remaining 3 chicken breasts. A consistent pocket depth gives each breast enough room to hold the full portion of filling without tearing.
Fill and Secure: Spoon one quarter of the filling, approximately 60g / 2oz, into the pocket of the first chicken breast. Press the filling toward the back of the pocket with a small spoon so it distributes evenly from edge to edge. Pinch the open edge closed and secure it with 2 toothpicks spaced 2.5cm / 1in apart, threading each toothpick parallel to the cut edge. Repeat with the remaining 3 breasts. Toothpicks prevent the pocket from opening during baking and keep the filling from leaking onto the pan.
Season the Exterior: Brush the outside of each stuffed chicken breast with olive oil using a pastry brush, coating all surfaces evenly. Mix the remaining 0.75 teaspoon of kosher salt, 0.25 teaspoon of black pepper, and 0.5 teaspoon of smoked paprika in a small bowl. Sprinkle the seasoning blend over all surfaces of each breast and press it lightly with your fingertips so it adheres to the oil. Even seasoning on the exterior builds a flavorful crust as the chicken bakes.
Preheat the Oven: Preheat the oven to 220°C / 425°F and allow it to reach full temperature for 10 minutes before adding the chicken. Lightly grease the bottom of a 9x13-inch baking dish with 0.5 teaspoon of olive oil and arrange the stuffed breasts in a single layer with at least 2.5cm / 1in of space between each piece.
Bake the Chicken: Transfer the baking dish to the center rack of the preheated oven and bake for 25 minutes until the exterior is golden brown with visible caramelization on the paprika-seasoned surface and the thickest part of each breast registers 74°C / 165°F on an instant-read thermometer inserted away from the filling.
Rest and Remove Toothpicks: Remove the baking dish from the oven and transfer each stuffed chicken breast to a clean cutting board. Let the chicken rest for 5 minutes without covering it, which allows the internal juices to redistribute throughout the meat. Remove and discard all toothpicks before slicing or plating. Resting for the full 5 minutes prevents the juices from running out when you cut into the breast.