

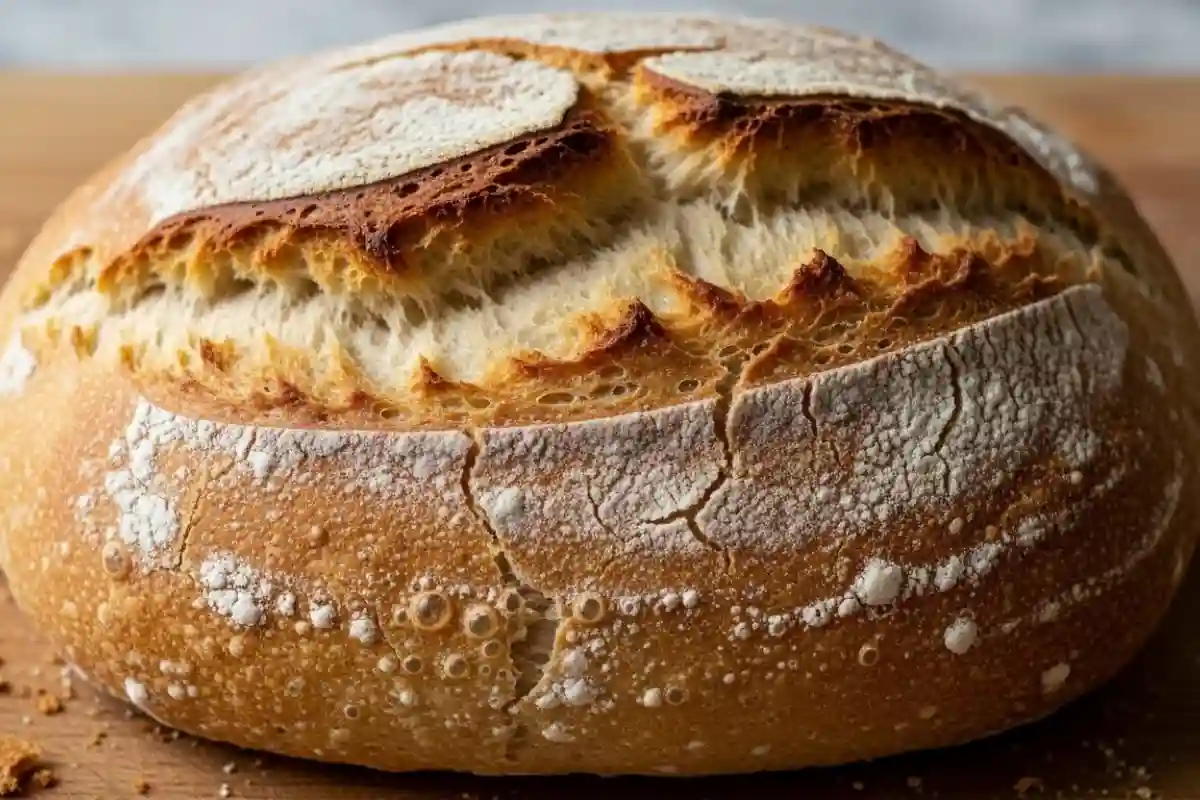
No‑Knead Peasant Bread is a viral American-style loaf that mixes in one bowl and bakes in simple pans or bowls with almost no hands‑on work. Flour, yeast, salt, and water come together into a loose dough that rises until puffy and full of bubbles. Instead of kneading, you simply scrape the dough into greased baking bowls or pans, let it rise again briefly, and bake until the tops are domed and golden. The crumb turns out soft and slightly open, while the crust is thin and crisp, making this bread ideal for everyday eating with butter, soup, or sandwiches.
No-Knead Peasant Bread
No‑Knead Peasant Bread is a viral American loaf where a loose, no‑knead dough rises once in the bowl, gets scraped into greased pans, and bakes into soft, crusty bread with almost no effort.
Ingredients
Equipment
Method
Mix the dough
- Add flour, sugar, salt, and yeast to a large mixing bowl and stir with a wooden spoon until all the dry ingredients are evenly combined.
- Pour 2 cups warm water into the bowl with a measuring cup and stir with the wooden spoon until a loose, sticky dough forms and no dry flour remains; the dough should look soft and shaggy.
First rise
- Cover the bowl with a clean kitchen towel or plastic wrap and let it rise in a warm spot for about 1 hour until the dough has doubled in size and the surface is puffy and dotted with bubbles.
- Prepare the pans and divide
- Grease the insides of 2 small round oven-safe bowls or 2 small loaf pans with butter or oil, coating the bottoms and sides well.
- Use the wooden spoon to gently deflate the dough in the bowl, then roughly divide it into two portions with the spoon or your hands.
- Scrape each portion of dough into a greased bowl or pan, letting it spread out naturally without heavy shaping.
Second rise
- Cover the bowls or pans loosely with the kitchen towel and let the dough rise again for 20 to 30 minutes until it looks puffed and close to the rims.
Bake
- Place the bowls or pans on the middle rack of a preheated 400°F oven using oven mitts.
- Bake for 28 to 32 minutes until the tops of the loaves are deep golden brown and the bread sounds hollow when tapped lightly with your fingers.
Cool and serve
- Remove the bowls or pans from the oven with oven mitts and let the loaves cool in the bowls or pans for 5 to 10 minutes.
- Turn the bread out onto a rack or cutting board by gently loosening the edges with your fingers or a knife, then let the loaves cool at least 20 minutes before slicing.
Notes
- The dough should stay loose and sticky; resist adding extra flour, which makes the bread dense instead of light.
- If your kitchen is cool, give the dough more time during each rise until it has clearly puffed and increased in volume instead of relying strictly on the clock.
- This bread is best the day it is baked but toasts well the next day; store at room temperature in a loosely closed bag to keep the crust from getting too soft.